
Walk into any barbershop right now and you’ll spot the same silhouette on repeat: tight sides, a crisp fade climbing up near the temple, and a sharp line or two carved into the skin. That’s the high taper fade with design, and it’s become the go-to haircut for guys who want their fade to do more than just fade — they want it to say something.
For years, the taper fade sat quietly in the background as a dependable, low-fuss cut. It was the haircut you got when you wanted to look put together without trying too hard. But somewhere along the way, barbers started treating the fade zone as a blank canvas instead of just a transition point, and the high taper fade with design was born. Now it shows up everywhere — on athletes, musicians, students heading back to school, and everyday guys who just want their regular trim to feel a little more personal.
This cut works because it gives you two things at once. The high taper does the heavy lifting of shaping your head, tightening up bulky sides, and creating sharp contrast with the top. The design layer is where you get to personalize it — a single razor line, a geometric shape, or a full freestyle pattern that turns an ordinary haircut into a conversation starter. It’s also endlessly adjustable: you can keep it subtle enough for a job interview or go bold enough to turn heads at a party, and the same base cut supports both.
What makes this style genuinely versatile is that it isn’t locked to one hair type, one face shape, or one age group. A high taper fade with design looks just as sharp on straight hair as it does on tight curls, as long as the design is scaled to match the texture underneath it. That’s exactly what we’re going to walk through here.
In this guide, we’re breaking down everything you need to know before your next barber appointment: what actually defines a high taper fade with design, 28 design ideas sorted by difficulty, how to match a design to your hair type and face shape, how complex you should realistically go, where to place it, exactly what to say in the chair, how long the design will hold up, and the styling and upkeep routine that keeps the whole look sharp between visits. By the end, you’ll have everything you need to walk into your next appointment with confidence instead of guessing.
What Is a High Taper Fade With Design?
A high taper fade with design starts as a standard high fade — the hair tapers down from a longer top section to very short sides, with the fade line beginning at or just above the temple. That’s the “high” part, and it’s what separates it from a low or mid fade, which starts much closer to the ear or the nape of the neck. Because the transition begins higher on the head, the contrast between the long top and the short sides is more dramatic, which is exactly what makes this base cut such a good canvas for detail work.
The “design” part comes in once the fade itself is fully blended and even. Using clippers, trimmers, and sometimes a straight razor, your barber shaves a pattern directly into the tapered section — usually somewhere in the fade zone near the temple, the side, or along the hairline. Because the surrounding hair is already trimmed down close to the skin, the design shows up in sharp, high-contrast detail almost immediately, without needing any extra styling to make it visible.
It helps to think of the design as sitting on top of the fade rather than replacing any part of it. Your barber will still do the full fade first — blending the guard lengths from the crown down to the skin — and only then go back in with a smaller trimmer or an outliner to cut the pattern. This order matters: a design added before the fade is blended tends to look uneven once the surrounding hair is finished, which is one reason it’s worth choosing a barber who’s comfortable doing both steps in the right sequence.
A few things define a strong high taper fade with design:
- A clean, even fade as the foundation — designs look messy on a sloppy blend
- A defined starting point, usually just above the temple or at the recession point
- A design that respects your hairline and hair growth pattern, not one that fights it
- Enough contrast between hair color and scalp to make the pattern pop
This style pairs naturally with textured tops, curly crops, waves, and even longer styles like a mini afro or a slicked-back top, which is part of why it’s stayed popular across so many different hair types.
It’s also worth understanding why the high placement specifically suits design work better than a low fade does. A low taper fade only exposes a small band of skin near the ear, which limits how large or detailed a pattern can be. A high taper fade, by contrast, opens up the entire temple and upper side of the head as usable space, giving your barber more room to work whether you’re after a single delicate line or a full freehand mural. That extra real estate is really the whole reason this specific fade height has become the default choice whenever someone asks for a design haircut.
28 High Taper Fade Design Ideas
Designs generally fall into three difficulty tiers based on how much freehand clipper or razor work is involved. Bring photos of whichever ones you like — even experienced barbers appreciate a visual reference instead of a verbal description alone, since the same design name can mean slightly different things to different people.
Before you pick one, it helps to know that difficulty isn’t just about how the design looks in a photo — it’s about how much freehand control it takes to execute cleanly, how symmetrical it needs to be, and how forgiving it is if your hair grows in slightly uneven. The three tiers below are organized with that in mind, so you can pick something that matches both your style goals and your barber’s comfort level.
Simple Designs
These are quick, low-risk options that most barbers can add in five to ten extra minutes. They’re a great entry point if this is your first time asking for a design, and they tend to read as clean and professional enough for office settings, interviews, or conservative dress codes.
- Single Side Part Line

One clean razor line separating the top from the fade, usually following the direction of a natural side part. It’s subtle enough to go unnoticed at a glance but adds a crisp finishing touch up close.
- Double Part Lines
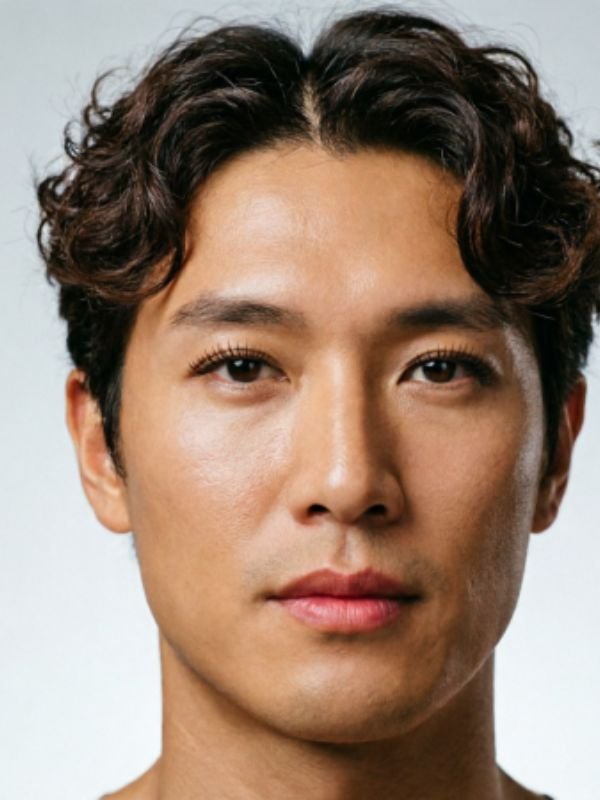
Two parallel lines running close together for a bolder, more structured edge than a single line. This works especially well on straight or wavy hair, where the lines stay crisp for longer.
- Temple Fade Shave-Off
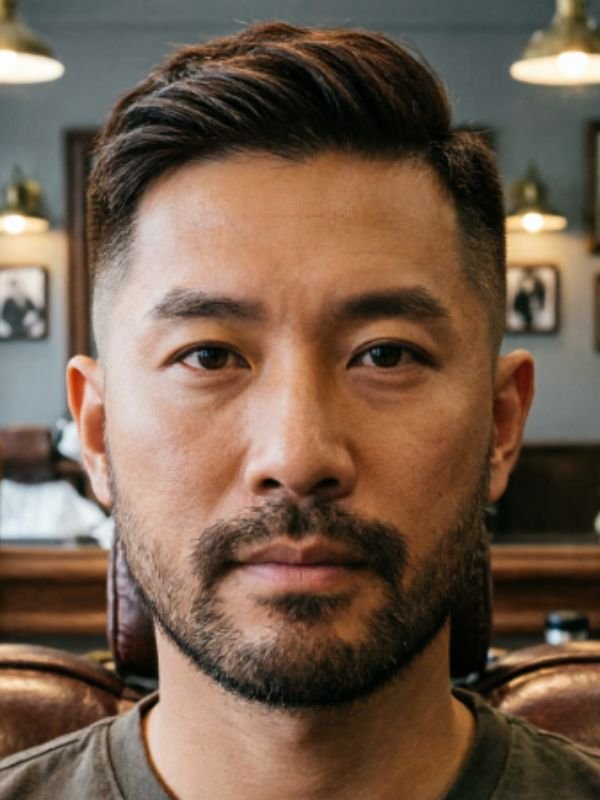
A small triangular or crescent-shaped section shaved completely clean at the temple, right where the fade begins. It sharpens the hairline and adds definition without any complex shapes.
- Crescent Moon Cutout

A single curved line that follows the natural arc of your hairline, tracing the shape your hair already grows in. It’s an easy way to add detail that looks intentional rather than random.
- Zigzag Part
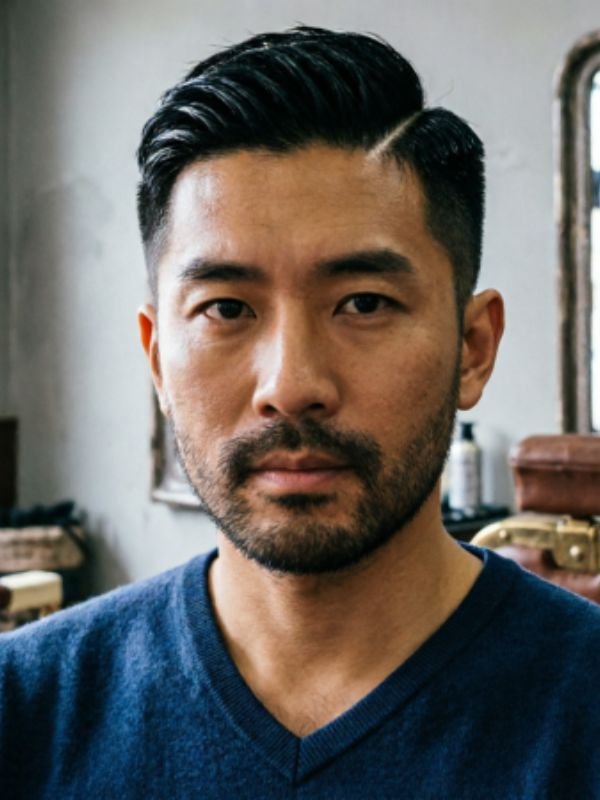
A wavy or angled line used instead of a straight part, giving a bit of edge to an otherwise simple cut. It’s still quick for a barber to execute freehand with an outliner.
- Thin Skin Line Border
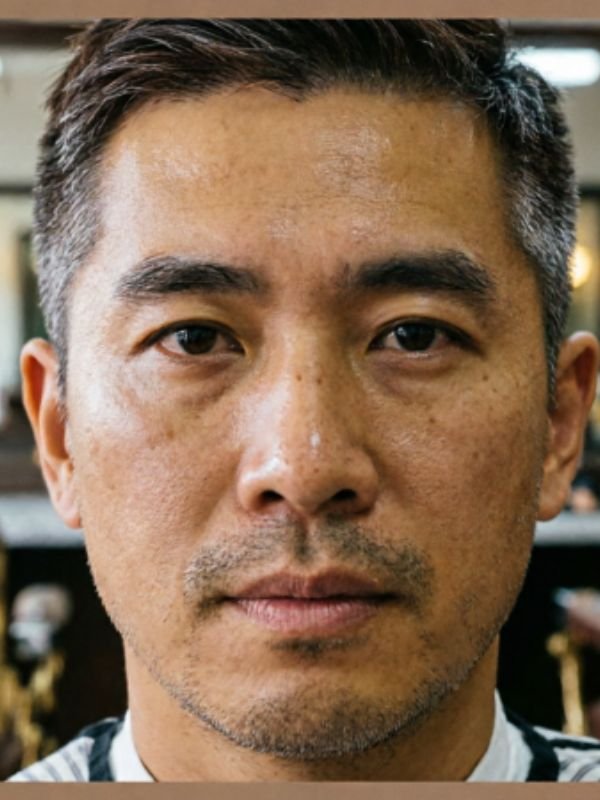
A razor-thin skin line that outlines the edge of the fade itself, essentially highlighting the fade’s shape rather than adding a separate pattern. Great for guys who want detail without a distinct “shape.”
- Dotted Line Accent

A row of small, evenly spaced dots along the temple, tapped in with the corner of a trimmer. It’s a subtle, modern take on a part line that photographs well.
- Single Star Cutout
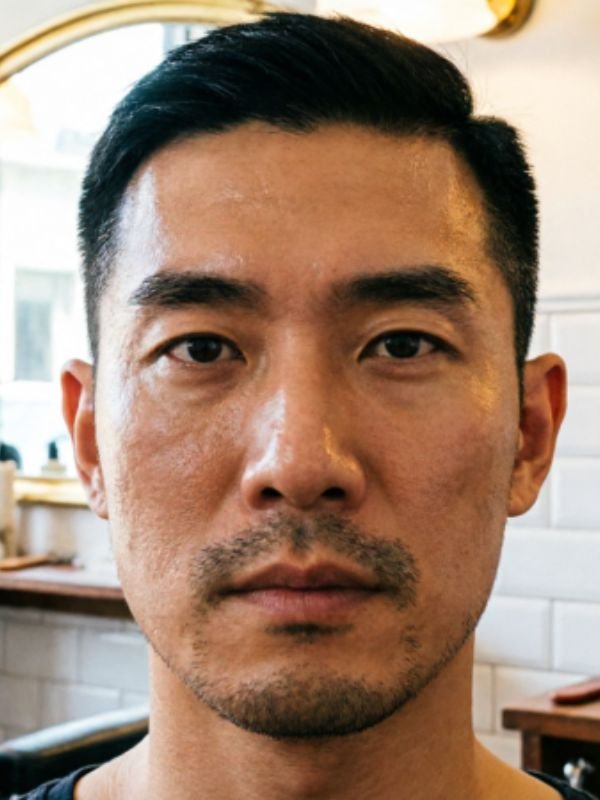
One small star shaved above the ear or at the temple, usually no bigger than a thumbnail. It’s a popular request for younger guys and reads as playful rather than aggressive.
- Arrow Design

A simple arrow shape pointing toward the hairline or up toward the top section, often paired with a single part line for extra structure.
- Lightning Bolt
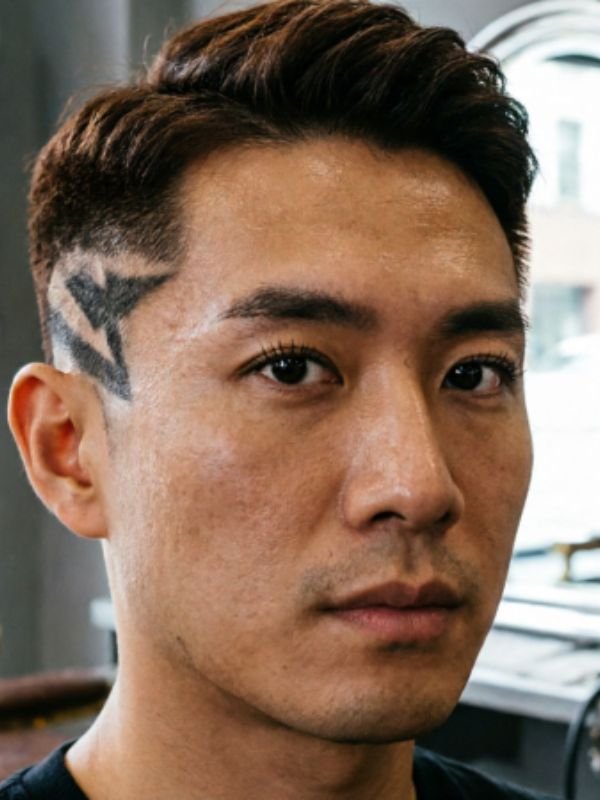
A quick, sharp zigzag shaved into the side of the fade. It’s one of the most requested simple designs because it’s instantly recognizable and takes very little time to cut.
ALSO READ “Blowout Taper Textured Fringe: Low, Mid & High Styling“
Intermediate Geometric Designs
These require more freehand precision and steadier hand control than the simple tier, and usually add fifteen to twenty-five minutes to your appointment. They’re a good next step once you’ve tried a simple design and want something with more visual weight.
- Triangle Grid Pattern
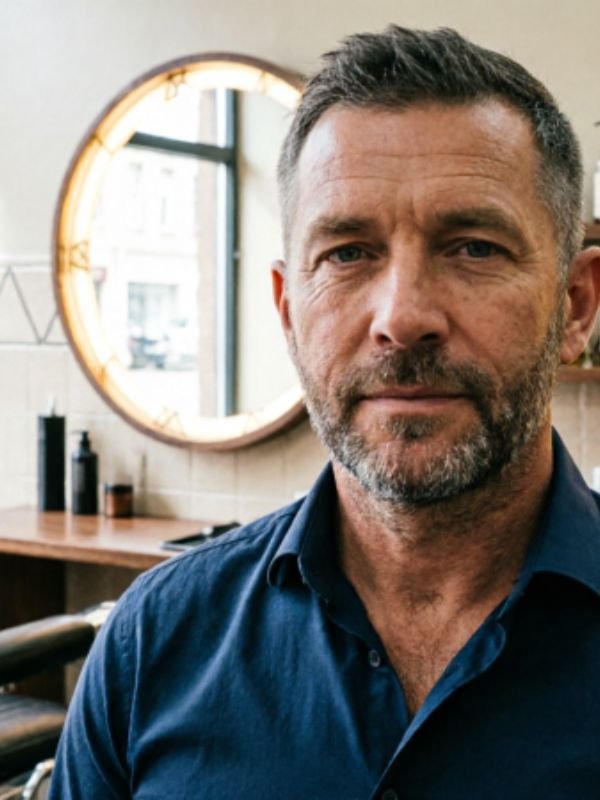
A repeating triangle motif running along the fade line, cut in a consistent rhythm so the shapes stay evenly sized. It reads as structured and geometric without covering too much surface area.
- Diamond Cutout Cluster

Three or four diamond shapes grouped together near the temple, usually angled to follow the curve of the head. It’s a popular choice for guys who want something eye-catching but still contained to one zone.
- Checkerboard Temple Fade
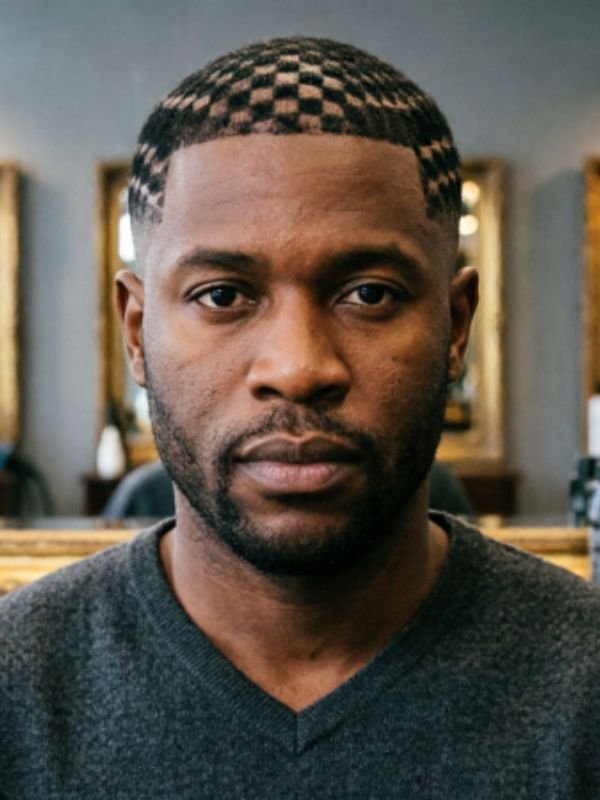
Alternating shaved squares that create a bold, blocky pattern across the fade. This one needs careful spacing to look sharp, which is why it sits in the intermediate tier rather than the simple one.
- Crosshatch Lines

Intersecting diagonal lines that form a woven, basket-like texture. It’s more time-intensive than a single part line because every intersection has to line up cleanly.
- Circuit Board Design
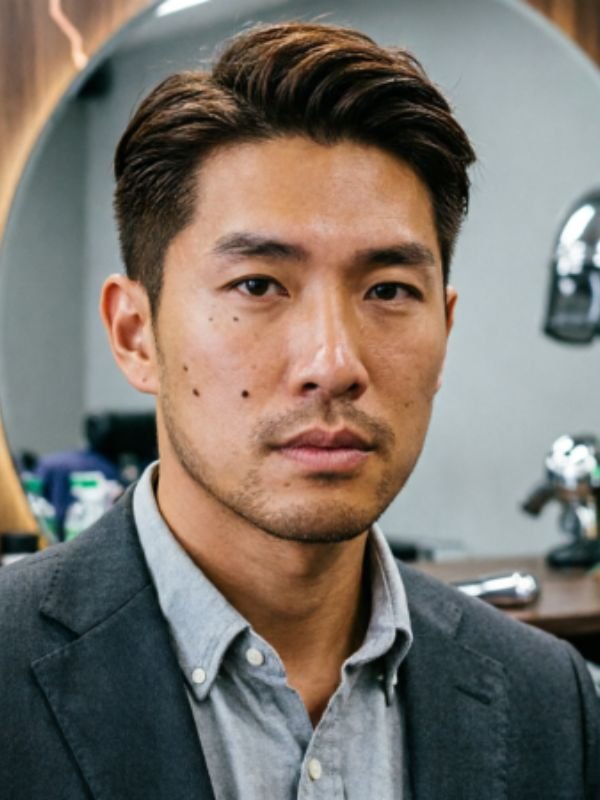
A series of angular, connecting lines resembling a tech or motherboard motif. It’s become a favorite among guys who want a modern, slightly futuristic look.
- Half-Moon Layered Cuts
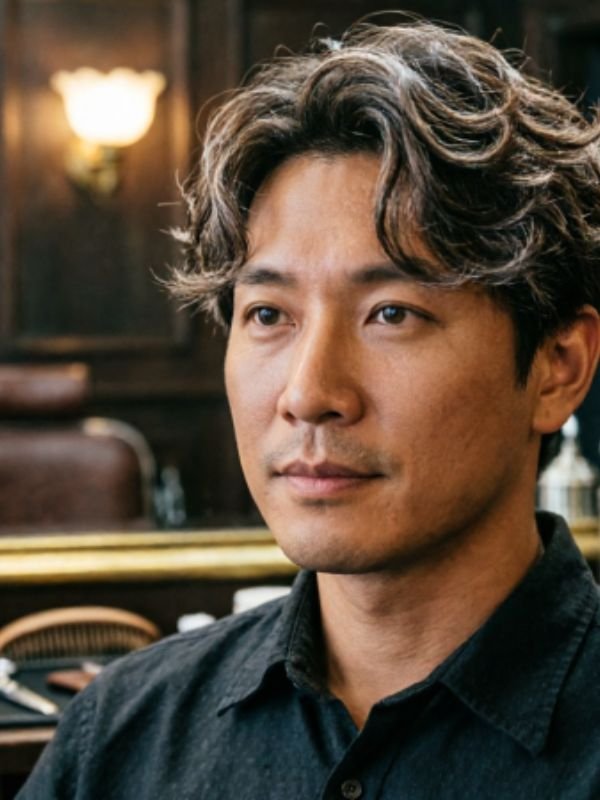
Multiple curved lines stacked one after another in the temple area, creating a layered, almost topographic effect.
- Sunburst Pattern

Lines radiating outward from a central point, similar to rays of light. It draws the eye toward the temple and works well as a standalone statement piece.
- Wave Ripple Design
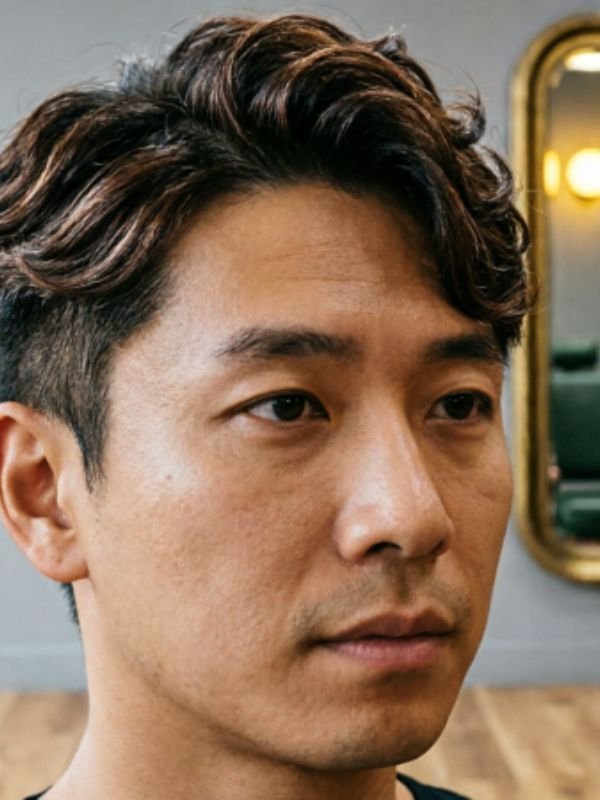
Concentric curved lines that mimic ripples in water, best suited to wavy or curly hair where the organic shape complements the natural texture.
- Two-Tone Skin Fade with Shapes
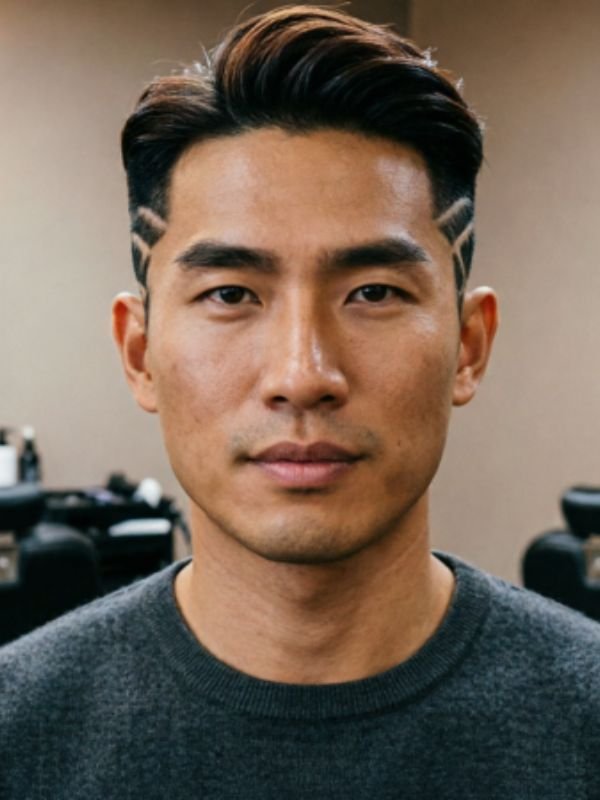
Small geometric shapes cut within an ultra-low skin fade, combining two techniques (skin fading and shape cutting) into one look.
- Interlocking Rings
Two or three overlapping circles shaved into the side, requiring precise freehand curves that stay symmetrical on both sides if mirrored.
Advanced Freestyle Designs
These are true showpieces that need an experienced barber with strong razor control and steady, practiced freehand skills. Expect thirty minutes or more added to your appointment, and expect to pay a premium since these are closer to hair artistry than a standard haircut add-on.
- Tribal Pattern
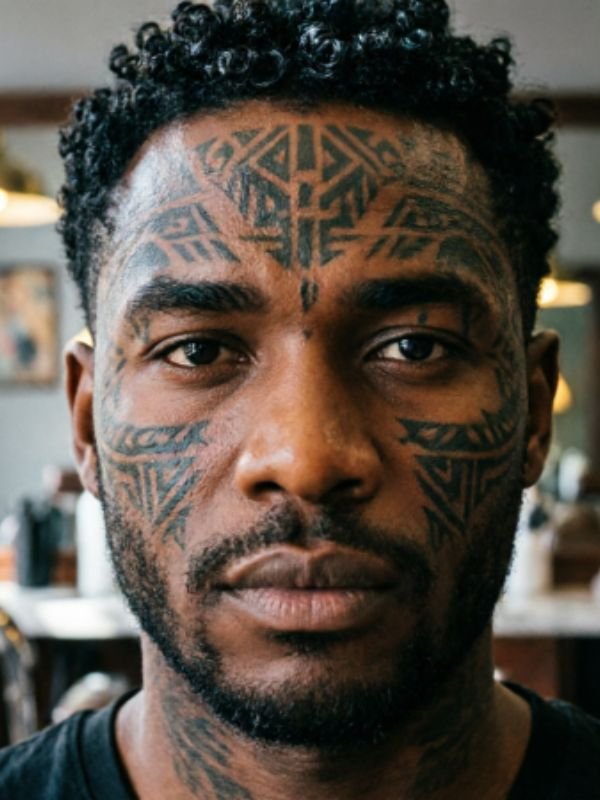
Bold, sweeping curved lines inspired by traditional tribal art, often covering a large portion of the temple and side. The lines need to flow into each other smoothly, which takes real freehand control.
- Animal Silhouette
A lion, wolf, eagle, or other animal outline shaved into the side with enough shading and detail to be instantly recognizable. This is one of the most requested advanced designs for special occasions.
- Portrait or Face Design
A detailed freehand portrait, usually reserved for special occasions like a tribute cut or a major event, since it requires the highest level of skill and the shortest lifespan before it needs a full redo.
- Full Side Mural
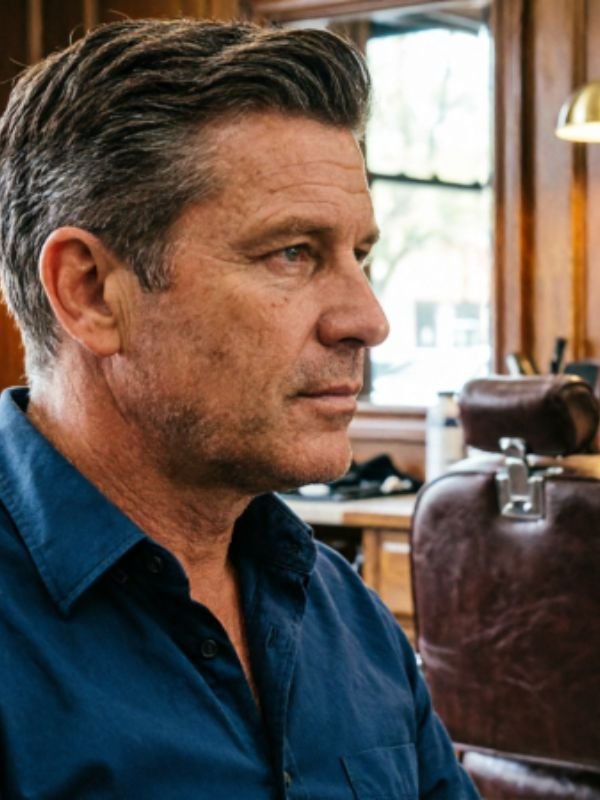
A large-scale scene covering most of the tapered section, often combining several smaller motifs (waves, geometric shapes, or a central image) into one cohesive piece.
- Text or Name Design
Custom lettering shaved along the hairline or nape, commonly used for names, dates, or short words. Curved surfaces make lettering harder than it looks, which is why it belongs in the advanced tier.
- Team Logo or Flag
Sports team crests, national flags, or club emblems cut in fine detail, popular ahead of major tournaments or games.
- Feather or Wing Pattern

Layered, textured lines that mimic the overlapping look of feathers, requiring careful shading to create depth rather than flat lines.
- Full Custom Freestyle Art
A completely one-of-one design built around your own concept, planned out with your barber in advance. This is the most personal option on the list and the one most likely to need a skilled specialist rather than a general barber.
<br>
| Design Tier | Time Added | Skill Level Needed | Best For |
| Simple | 5–10 minutes | Any experienced barber | First-timers, office-friendly looks |
| Intermediate | 15–25 minutes | Barber comfortable with freehand razor work | Weekend looks, standout everyday style |
| Advanced | 30+ minutes | Specialist barber/artist | Special events, statement pieces |
Not every barbershop offers all three tiers, so it’s worth asking ahead of time — or checking a barber’s portfolio online — before booking an advanced design. Shops that specialize in freehand artwork often post examples on social media, and a quick scroll through their previous work is one of the best ways to judge whether they can execute the specific style you’re after.
Best Designs for Your Hair Type
Your hair type changes how sharp and how long-lasting a design will look, so it’s worth matching your pick to your texture instead of copying a photo blindly. A design that looks razor-sharp on someone with straight hair can blur into a fuzzy smudge on curlier textures within just a couple of days, and understanding why helps you pick something that’ll actually hold its shape between barber visits.
- Straight hair: Holds fine, thin lines extremely well since there’s no natural texture to blur the edges as regrowth happens. Single or double part lines, geometric grids, and even fine text designs all read cleanly on straight hair, and they tend to stay crisp for closer to the full week before needing a touch-up.
- Wavy hair: Does well with medium-width lines and curved patterns like wave ripples or crescents, since the natural movement of wavy hair complements curved shapes rather than fighting them. Very thin, rigid geometric lines can look slightly less crisp on wavy textures, so sizing up just slightly is usually worth it.
- Curly hair: Best suited to bolder, thicker-cut designs. Fine lines tend to get swallowed by curl shrinkage and frizz within a day or two, so it’s worth asking your barber to go one size up on line width compared to what you’d choose for straight hair. Tribal patterns, diamond clusters, and other chunkier shapes tend to outperform delicate detail work here.
- Coily/textured hair: Similar principle to curly hair, only more pronounced — thick tribal patterns, chunky geometric shapes, and wide skin fades hold their shape far better than delicate linework. Because coily hair often grows in quickly and densely, designs on this texture also tend to need slightly more frequent refresh appointments to stay sharp.
Regardless of texture, ask your barber how your specific hair tends to behave once it’s shaved this short — some barbers will even recommend a slightly different design entirely if your usual pick from a photo won’t translate well onto your hair.
| Hair Type | Recommended Design Width | Design Ideas That Work Best |
| Straight | Thin lines | Part lines, checkerboard, text designs |
| Wavy | Medium lines | Wave ripple, crescent moon, sunburst |
| Curly | Thick/bold | Tribal, diamond cluster, thick geometric shapes |
| Coily | Extra bold | Full mural, wide skin fade with large shapes |
Which Design Suits Your Face Shape?
A design doesn’t just sit on your head — it draws the eye, and where it draws the eye can flatter or fight your natural face shape. This is one of the most overlooked parts of choosing a design, since most guys pick a pattern purely on looks without considering how it’ll interact with their own features.
- Round faces: Angular, vertical-leaning designs — arrows, lightning bolts, straight part lines, or triangle grids — add structure and counter the natural softness of a round face. Avoid designs made entirely of circles or curves, since they can amplify roundness rather than balance it.
- Square faces: Curved designs like crescents, wave ripples, or half-moon layered cuts soften strong jawlines and sharp cheekbones, creating a nice contrast against the face’s natural angularity.
- Oval faces: Almost any design works here — this is widely considered the most flexible face shape for a high taper fade with design, since oval proportions balance well with both angular and curved patterns.
- Long faces: Horizontal or wide patterns — checkerboard sections, crosshatch lines, or a wider sunburst — help reduce the visual appearance of face length by drawing the eye sideways instead of down.
- Heart-shaped faces: Smaller, temple-focused designs balance a wider forehead without adding extra visual weight up top. Oversized murals or large advanced designs can sometimes overwhelm this face shape, so keeping things contained tends to work best.
If you’re not sure which category you fall into, most barbers can tell at a glance and will happily point you toward a design that plays to your features rather than against them.
| Face Shape | Best Design Style | Why It Works |
| Round | Angular/vertical lines | Adds definition and breaks up curves |
| Square | Curved patterns | Softens sharp jaw and cheekbones |
| Oval | Any style | Naturally balanced proportions |
| Long | Wide/horizontal patterns | Shortens visual face length |
| Heart | Compact temple designs | Balances a broader forehead |
How Complex Can Your Design Be?
Complexity should match three things: your barber’s skill level, how often you can realistically get touch-ups, and how much upkeep you’re willing to commit to long-term. It’s tempting to go straight for an advanced design after seeing a great photo online, but it’s worth being honest with yourself about your maintenance schedule before booking anything ambitious.
- If you get trims every 1–2 weeks, you can comfortably commit to intermediate or advanced designs since you’ll be back in the chair before the pattern grows out and blurs.
- If you stretch appointments to 3–4 weeks, stick to simple designs — advanced patterns lose sharpness fast as hair regrows, and a detailed mural that’s two weeks old often looks more like a smudge than a design.
- If this is your first design ever, start simple. It’s much easier for a barber to add complexity at your next appointment than to fix or cover up an overly ambitious first attempt that didn’t turn out the way you pictured it.
- If you have an upcoming event, plan your appointment timing around it — book your design two to four days before, not the morning of, so the fade has time to settle and any minor redness from razor work fades completely.
A good rule of thumb: the finer the linework, the sooner it needs a refresh. Bold, chunky designs are more forgiving and stretch longer between visits, which makes them a smarter choice for anyone who can’t commit to weekly barber trips.
Where Should the Design Go?
Placement matters just as much as the design itself, since the same pattern can look completely different depending on where it sits relative to your fade line and hairline. Most high taper fades with design put the pattern in one of these zones:
- Temple area: The most popular spot for a design — it has high visibility, sits right at the natural high-fade starting point, and works with nearly every design tier from a simple part line to an advanced freehand piece.
- Side of the head (above the ear): Good for larger designs like murals, animal silhouettes, or full tribal patterns that need more surface area than the temple alone can offer.
- Nape/back of the head: Less common but effective for text or subtle accent designs, especially if you tend to style your hair up or slicked back, since the design becomes more visible from behind.
- Hairline edge: Works well for thin border lines and crescent shapes that trace your natural hairline, giving a subtle, almost architectural finish rather than a standalone shape.
Your barber will usually recommend a placement based on your fade height, hair density, and how much skin-to-hair contrast the area naturally provides — some spots on the head simply show a design more clearly than others once the surrounding hair regrows even slightly.
How to Tell Your Barber What You Want
Miscommunication is the single biggest reason a design comes out wrong, and it’s almost always avoidable. Barbers see dozens of clients a day, so the more specific and visual you can be, the better the result. Here’s how to set your barber up for success:
- Bring a clear reference photo — ideally more than one angle of the same design, since a single front-facing photo can leave a lot of the pattern’s placement and proportions up to guesswork.
- Specify the fade height first: say “high taper, starting above the temple” rather than just “high fade,” since fade height terminology can vary slightly from shop to shop.
- Point to the exact placement on your own head where you want the design, rather than assuming your barber will pick the same spot shown in your reference photo.
- Mention your hair type and ask directly whether the design will hold well on your texture — a good barber will tell you upfront if a design needs to be scaled up or down to work for you.
- Ask about maintenance — how often you’ll need to come back to keep both the fade and the design looking crisp, so you can plan your schedule realistically.
- Be honest about your comfort level with complexity; it’s completely fine to ask for something simpler than the reference photo if you’re unsure about committing to a bold, advanced piece.
- Confirm timing and pricing before the barber starts cutting, especially for intermediate or advanced designs that add significant time to the appointment.
A short, clear script works well and takes the guesswork out of the conversation: “I want a high taper fade starting just above my temple, with [design name] shaved into the [placement]. Here’s a photo for reference.” Saying this out loud, rather than just handing over a phone, also gives your barber a chance to ask follow-up questions before the clippers come out.
How Long Does the Design Last?
Design longevity depends almost entirely on how fast your hair grows, how bold the pattern is, and how closely the surrounding fade was cut. A design shaved into a very short, near-skin fade tends to stay visible slightly longer than the same pattern cut into a fade with more length left in the sides, simply because there’s less regrowth needed to blur the lines.
| Design Complexity | Average Time Before Refresh Needed |
| Simple (single/double lines) | 5–7 days |
| Intermediate (geometric shapes) | 4–6 days |
| Advanced (murals, portraits, text) | 3–5 days |
Fast hair growth — common in coarser or thicker hair types — shortens these windows across the board. Most guys who keep a design long-term end up booking a touch-up every 5 to 10 days to keep both the fade and the pattern looking fresh, rather than waiting for a full regrowth cycle like they might with a plain fade. If you know you can’t commit to that kind of schedule, it’s worth leaning toward a simpler design from the start rather than letting a detailed one grow out and look messy.
How to Style This Haircut
Styling a high taper fade with design is mostly about the top — the sides and the design itself stay put once they’re cut, so your daily routine really only needs to focus on one section of your head.
- Straight or wavy top: Apply a light pomade or matte clay to damp hair, then blow-dry with a round brush for volume, or air-dry for a more relaxed, natural texture depending on the look you’re after.
- Curly top: Use a curl-defining cream on damp hair and let it air-dry or diffuse to keep the curl pattern intact without weighing it down or flattening the contrast against the short sides.
- Longer top styles: A texturizing spray adds grip and hold for slick-backs, quiffs, or pompadours that pair naturally with a high fade, since these styles rely on the top holding its shape all day.
- Daily touch-ups: Keep a small amount of product on hand for restyling the top after sleeping on it — the design and sides won’t need any attention day to day, just the crown.
- Scalp care: Because a high, tight fade exposes more scalp than a longer cut, a light scalp oil or moisturizer once or twice a week can prevent dryness or flakiness that would otherwise be very visible against the design.
Wash your hair with a gentle shampoo every two to three days rather than daily. Over-washing can dry out the scalp, which shows through more obviously on a high, tight fade than it would on a longer haircut where more hair covers the skin.
Best Top Styles to Pair With It
- Textured Crop – Short, choppy layers that add movement without much length, low-maintenance and easy to style in under two minutes each morning.
- Curly Fringe – Natural curls left longer on top, contrasting nicely with the tight sides and putting extra focus on the design’s clean lines.
- Slick Back – A polished, professional pairing that still shows off the design underneath, especially when the hair is pushed back rather than left forward over the hairline.
- Pompadour – Height and volume that balance the sharpness of the fade, giving the whole haircut a more dramatic, structured silhouette.
- Mini Afro/Twist Top – A strong contrast choice for coily hair types, letting natural texture take center stage against the precision of the shaved design.
- French Crop with Fringe – A modern, low-maintenance option that’s easy to style daily with just a small amount of product, popular for guys who want a design without a high-effort top.
- Comb Over – A classic side-swept style that draws a clean line down toward the design, giving the whole look a slightly more formal edge.
Whichever top style you choose, the key is keeping enough contrast between the length on top and the tightness of the fade — too little contrast and the design tends to get visually lost against the rest of the haircut.
Mistakes to Avoid With This Cut
- Going too advanced too soon — starting with a full mural or portrait before testing how you feel about a design at all is a common way to end up regretting the size or placement.
- Skipping the reference photo — verbal descriptions rarely match what ends up on your head, since terms like “geometric” or “tribal” can mean very different things to different barbers.
- Ignoring hair type — fine-line designs on very curly or coily hair tend to blur within days, leading to disappointment when the crisp look from the photo doesn’t hold up past the first shower.
- Letting the fade grow out unevenly — the design will look crisp while the surrounding fade looks patchy and overgrown if you delay touch-ups too long, which actually draws more attention to the mismatch.
- Choosing a design that clashes with your face shape — always ask your barber for input if you’re unsure, rather than committing purely based on a photo of someone with different features.
- Using the wrong products on top — heavy, greasy products can make a sharp fade look unkempt by contrast, even when the fade and design themselves are perfectly executed.
- Not budgeting extra time or cost — showing up expecting a standard haircut appointment length and price for an advanced design can rush the barber and compromise the final result.
- DIY-ing a complex design at home — freehand detail work takes real practice; what looks simple in a video tutorial is much harder to execute symmetrically on your own head with a hand mirror.
Frequently Asked Questions
Does a high taper fade with design work for all hair types? Yes, though the design width should be adjusted — thinner lines for straight hair, bolder shapes for curly or coily hair that shrink or frizz.
How much does a design add to the cost of a haircut? Simple designs typically add $5–$15; advanced freestyle work can add $20–$50 or more depending on the barber’s skill and location.
Will the design grow out unevenly? It can, especially on fast-growing hair, which is why touch-ups every 5–10 days are recommended for sharper, more detailed patterns.
Can I remove the design later without shaving my head? Yes — most barbers can gradually blend it out over one or two regular fade appointments without needing a full buzz cut.
Is a high taper fade good for a professional workplace? A simple, single-line design at the temple usually reads as clean and polished enough for most offices and interviews.
Do designs work on shorter hair overall, not just the fade? Yes, buzz cuts and crew cuts can carry small designs too, though the contrast is less dramatic than with a longer top section.
How painful or risky is the razor work? In experienced hands it’s not painful — the only real risk is cosmetic if the barber isn’t skilled in freehand detailing.
Can I get a design without going as short as a skin fade? Yes, designs can be cut into a taper fade at any length, as long as there’s enough hair-to-skin contrast to see the pattern clearly.
Should I book extra time for my appointment? Yes, always mention the design when booking so your barber can allocate enough time and isn’t rushed mid-cut.
What’s the easiest design for a first attempt? A single or double part line is the safest starting point — quick, low-risk, and easy for any barber to execute confidently.
Can I combine more than one design in the same haircut? Yes, many guys pair a simple part line with a small shape or accent, though combining two advanced designs can look cluttered.
Does a design work well with a beard? Yes, a well-groomed beard actually complements a high taper fade with design by adding balance and framing the face.
Will a design look different once my hair grows a little? Slightly — edges soften a bit within a few days, which is completely normal and part of why regular touch-ups are recommended.
Can women get a high taper fade with design too? Absolutely — the style and design principles apply the same way regardless of gender, and it’s grown increasingly popular beyond menswear.
Final Takeaways
The high taper fade with design is one of the most flexible modern haircuts out there because it genuinely works on nearly any hair type, face shape, and lifestyle — you’re just choosing how bold you want to go with it. Start simple if this is new territory for you, bring clear reference photos, and be upfront with your barber about your hair type, your face shape concerns, and how often you can realistically make it back in for touch-ups.
Think of the design as the finishing detail on top of a foundation that has to be right first. A sloppy fade with an amazing design still looks unfinished, while a sharp, well-blended fade with even the simplest single line can look genuinely polished. Prioritize the fade quality, choose a design that matches your hair texture and maintenance schedule, and communicate clearly with your barber, and the rest tends to fall into place naturally.
Whether you land on a single clean part line for your first appointment or work your way up to a full freestyle mural for a special occasion, the underlying principle never changes: get the high taper fade sharp and even first, and the design on top will always look its best. Use this guide as your starting checklist, bring it — or a screenshot of the design ideas — to your next appointment, and walk out with a haircut that’s genuinely your own.

Ethan Parker is a hair and hairstyle writer with 5 years of experience researching haircuts, styling techniques, and hair trends. He shares simple tips, practical guides, and hairstyle ideas to help readers choose looks that suit them. His goal is to make hair care and styling easy to understand for everyone.
1 thought on “High Taper Fade with Design: 28 Razor-Cut Styles to Show Your Barber”